

I have wanted to buy a bar cart for our lounge for some time but was put off by the prices. Even a basic one from somewhere like West Elm or Oliver Bonas was over £150 and I just couldn’t justify that kind of cost for what is really quite a frivolous item. I should also add I am 100% teetotal and have been for many years but that still doesn’t stop me wanting to make cocktails. It does however make me want to find a cost effective way to have a drink trolley in the house…
I couldn’t believe it when I was pottering in our local Emmaus charity furniture store and lent up against the wall I saw a 1960’s drinks trolley. It was a bit dirty and had onyx effect shelves which wouldn’t go with anything I own but it was a great size and had a fantastic gold coloured frame.
And the best bit? The man there sold it to me for just £5!!!
Once I got it home I started planning how I would upcycle it and decided a black version of the onyx effect shelves it had been designed with would look the best. The iconic Blue Peter staple – sticky back plastic (now rebranded as self adhesive film) – is an amazing way to change things as it is cheap, easy to use and comes in a huge variety of colours, patterns and sizes.
So, how did I do it?


What you’ll need:
- D C Fix self adhesive film (I used the black marble effect film which is £5 from Wilkinsons)
- Cleaning materials
- Scissors/Tape measure/Stanley Knife
- Scraper/loyalty card


Getting Started:
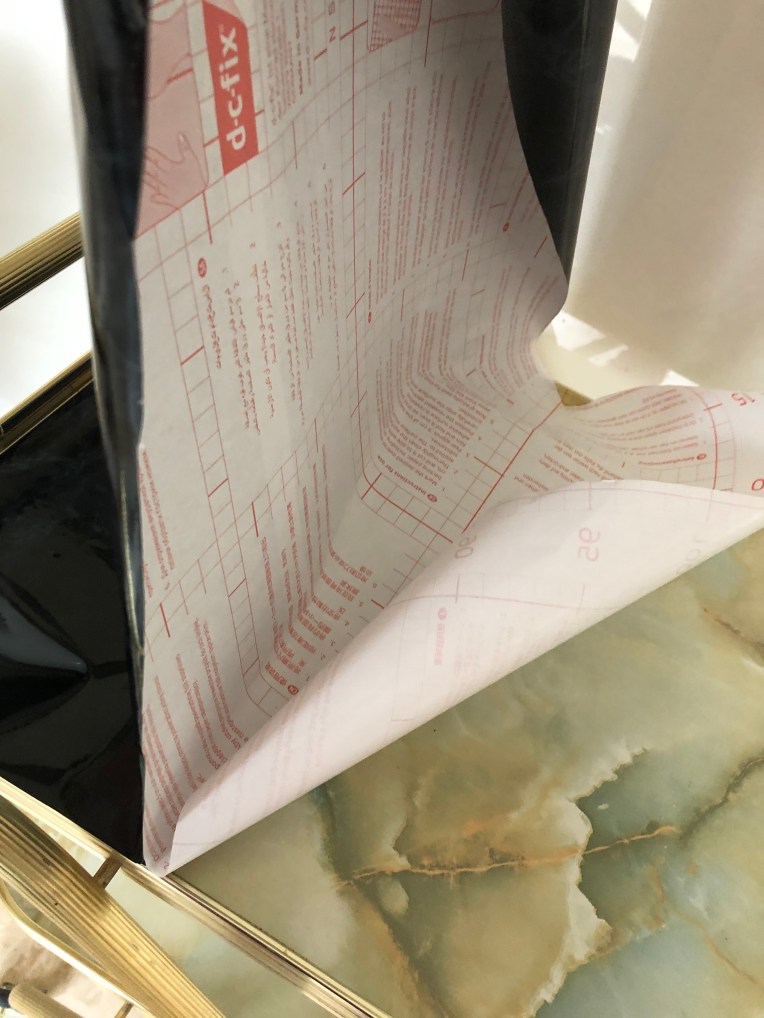
Firstly I cleaned the entire trolley making sure it was clear of dust or anything that would stop the film sticking. I then measured the surfaces I wanted to cover, loosely cut out the film I was going to use and then in stages adhered it to the flat surface working slowly and methodically. Every couple of inches I would use the scraper to make sure there were no air bubbles and the film was nice and flat.
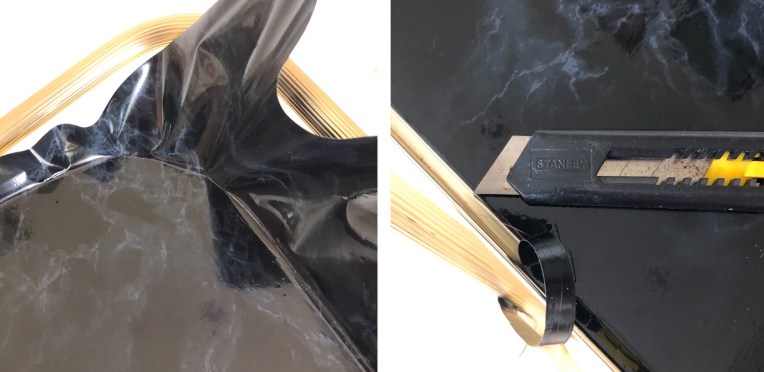
Once the whole surface was covered I used a Stanley knife to cut into the carts metal edges and carefully removed the excess film. Top Tip: If you do get the odd air bubble take a pin and make a tiny hole in it. Then go over it again with the scraper. It will then disappear.

Once the top was done I repeated the process all over again to cover the bottom section.


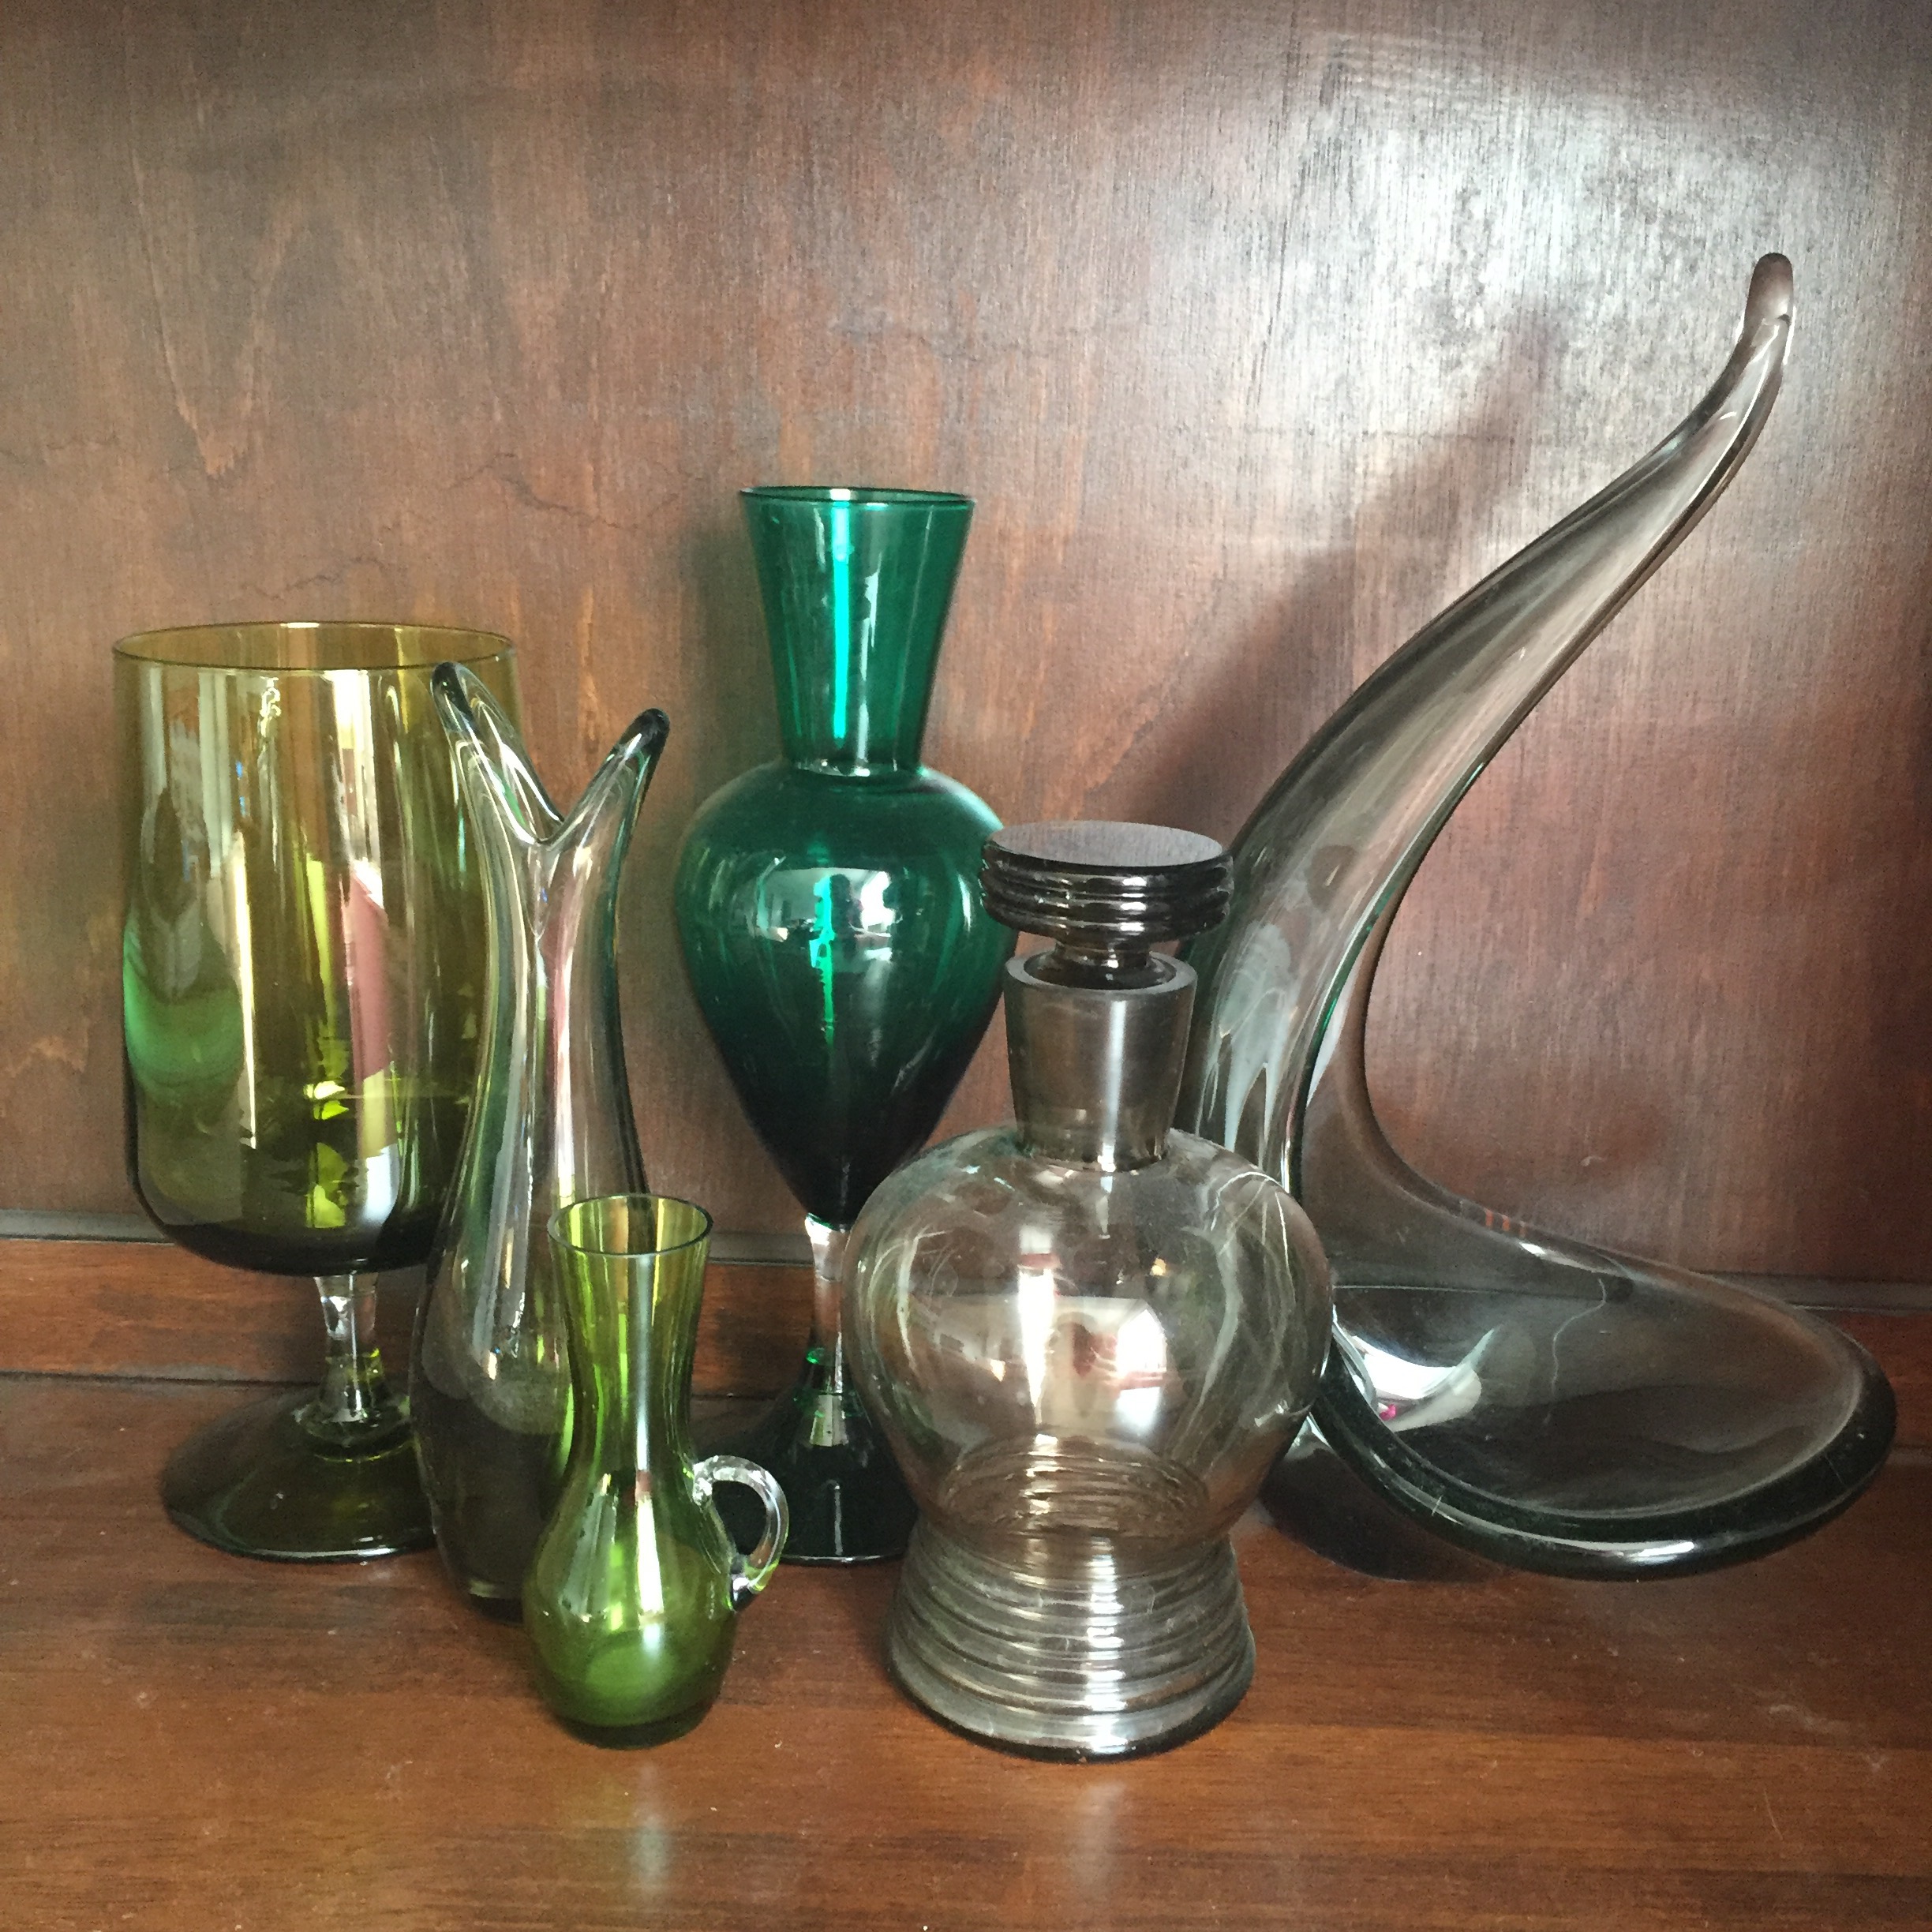
A quick wipe down and a final hard scrape of the film to make sure it was well and truly stuck and I had finished my weekend project! And here is the finished item – I have styled it with a mix of 1960’s vintage and some new items and with the stylised mid century trolley design it makes for a great retro vibe…

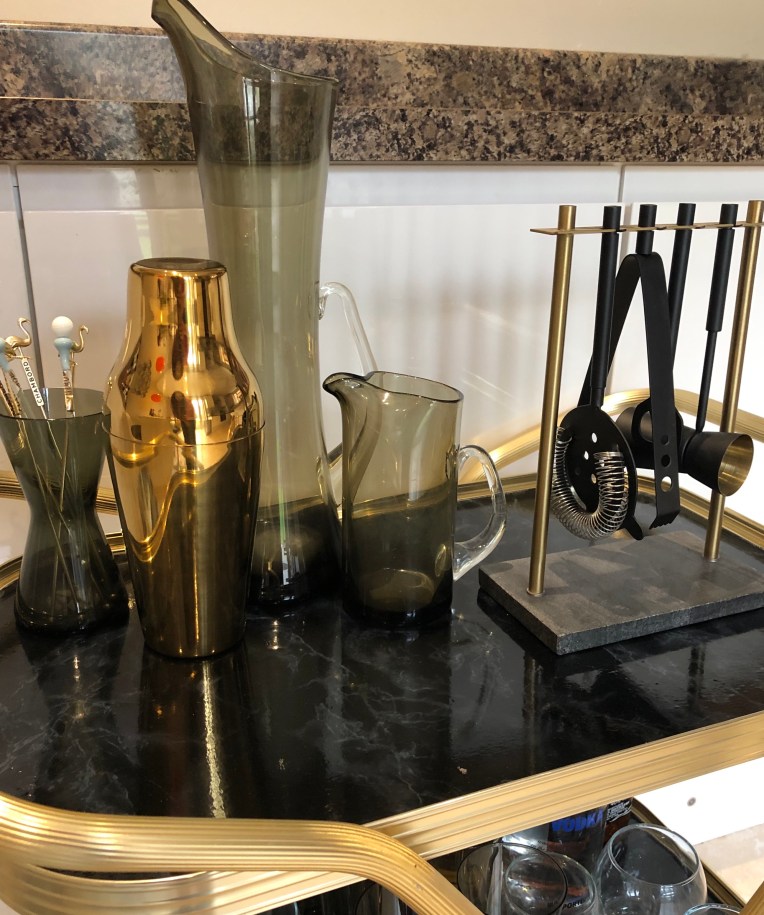
Cocktail shaker/Dunelm Mill, bar tool set/Sainburys Home, smoked glass items/vintage, swizzle sticks/eBay

Fluted 1960’s glasses/Vintage, clear hi balls & tumblers/Amazon

Cocktail shaker/Dunelm Mill, bar tool set/Sainburys Home, smoked glass items/vintage
I’m really pleased with the way it turned out. What do you think?
The best bit is I have a real 1960’s version of what I wanted which fits in to my home perfectly and have also upcycled a piece of unwanted furniture which might of ended up at the dump otherwise.
I can’t wait for it to take pride of place in our lounge when it is redecorated. Now, who wants a drink?


You must be logged in to post a comment.